
Quilt design wall
DIY design wall

We have learned how to live in our small house over the years - for my sewing, one of the limitations has been not having a place big enough to lay out a quilt before the final piecing. I can make do, sort of, on my queen size bed, but it’s not perfect. I have used my neighbor’s den several times, as she has the floor space AND no curious pets to offer help. I’ve also held on to blocks to take to my parents’ house a few hours away to take advantage of their floor space - but in each method, what I do is lay it out, take copious photos, and then try to make stacks of each row and refer to the photos once I get back to my machine to finish the top.


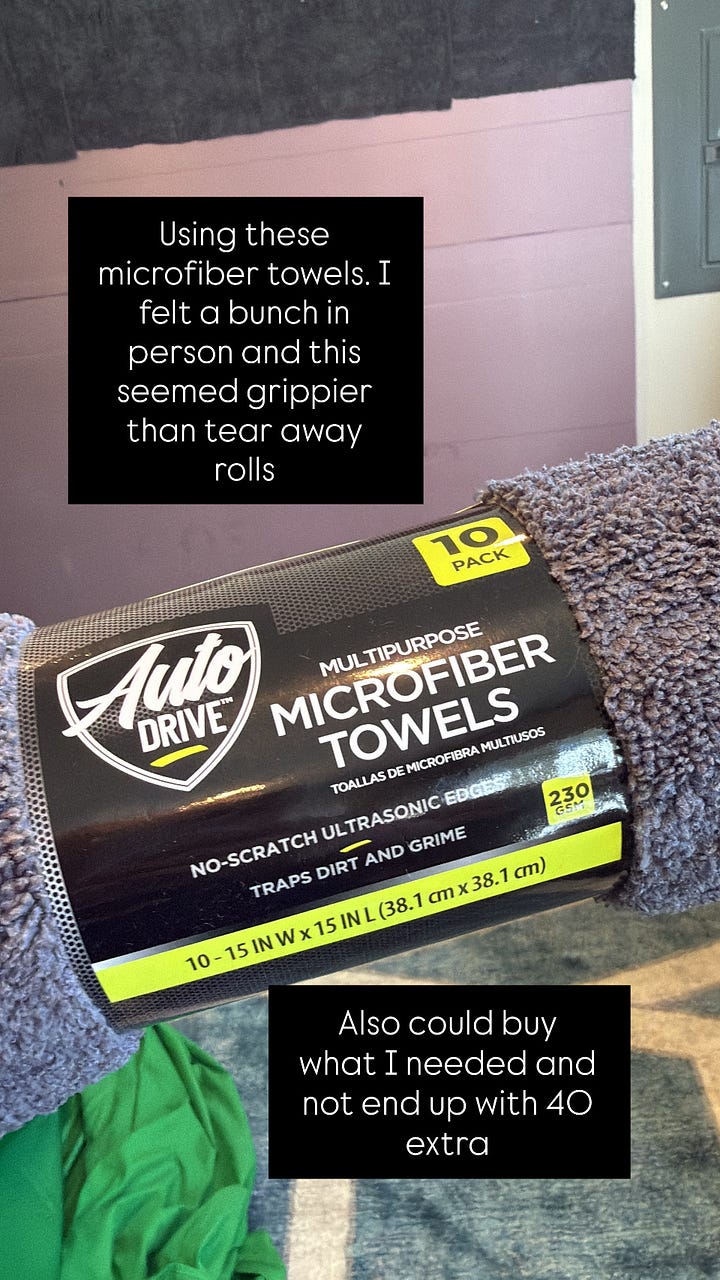
When we started finalizing plans for my husband’s backyard office studio, I saw the one blank wall as the perfect canvas for a permanent design wall - it would be vertical - no more crawling on my hands and knees - vast, and in a separate building from my curious cats. I knew I wanted to use foam insulation boards to be able to also use pins, and I started researching what to use for the ‘grip’ surface. I started by thinking I’d just use some cotton batting, and was about to buy it when my favorite fabric department worker told me I should use felt instead, so I grabbed a sample and paused on the batting. I also read that flannel was a good product to try, but then I asked around on some forums and that’s where I landed on using microfiber towels.
Once I started researching those, many recommended the tear away rolls - I went to Lowe’s and checked those out, but the nap seemed flat and the towels seemed thin, and I thought a thicker nap would be better for my needs, so I moved over to WalMart and checked out their options. They had tear away (but in a quantity way beyond what I needed) and they had individual towels in multipacks, in various sizes. I ended up buying a few 10 packs of the fluffier-napped 15”x15” towels, in gray. (When I first looked on the shelf, I only saw yellow and blue, I did have to dig to find the gray, but they exist!)
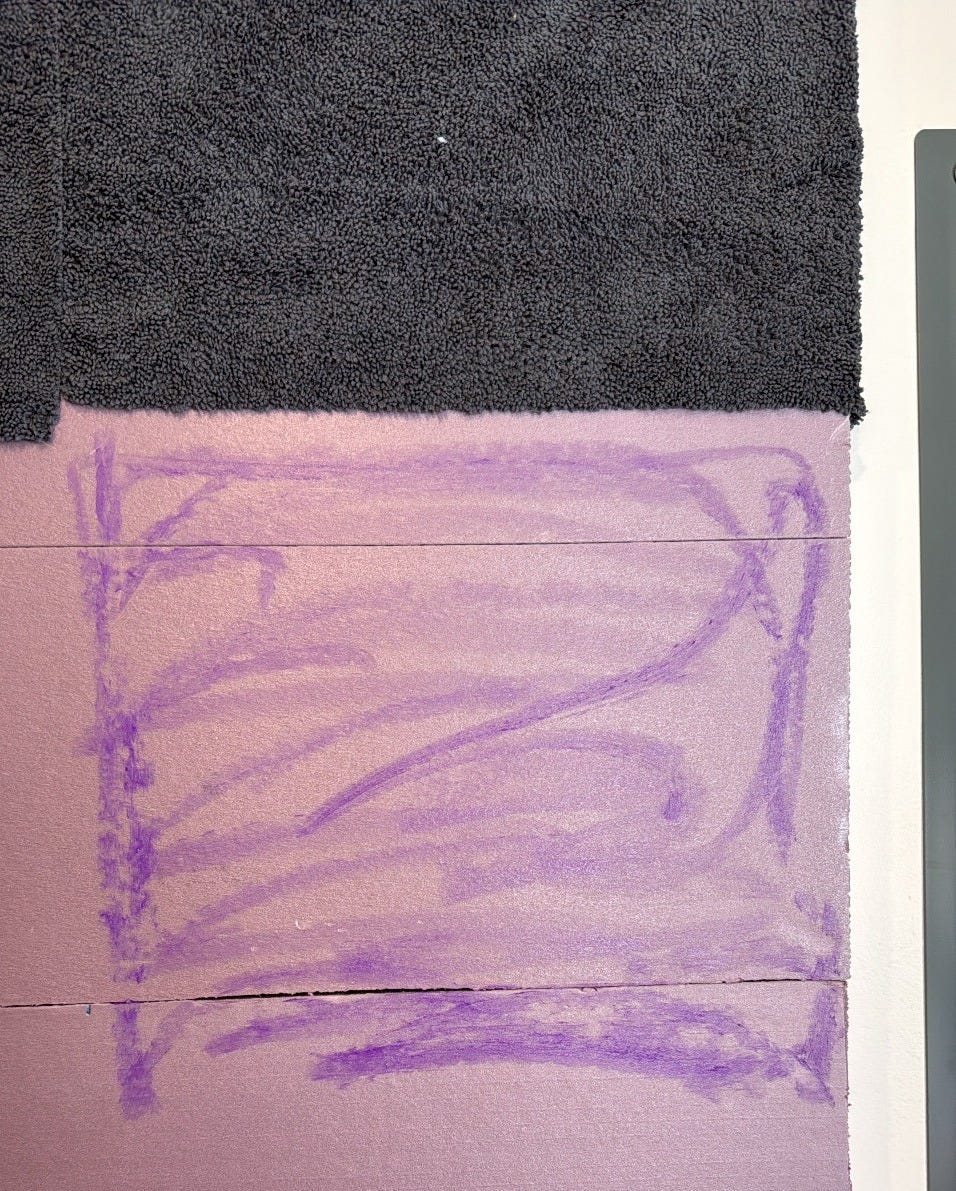
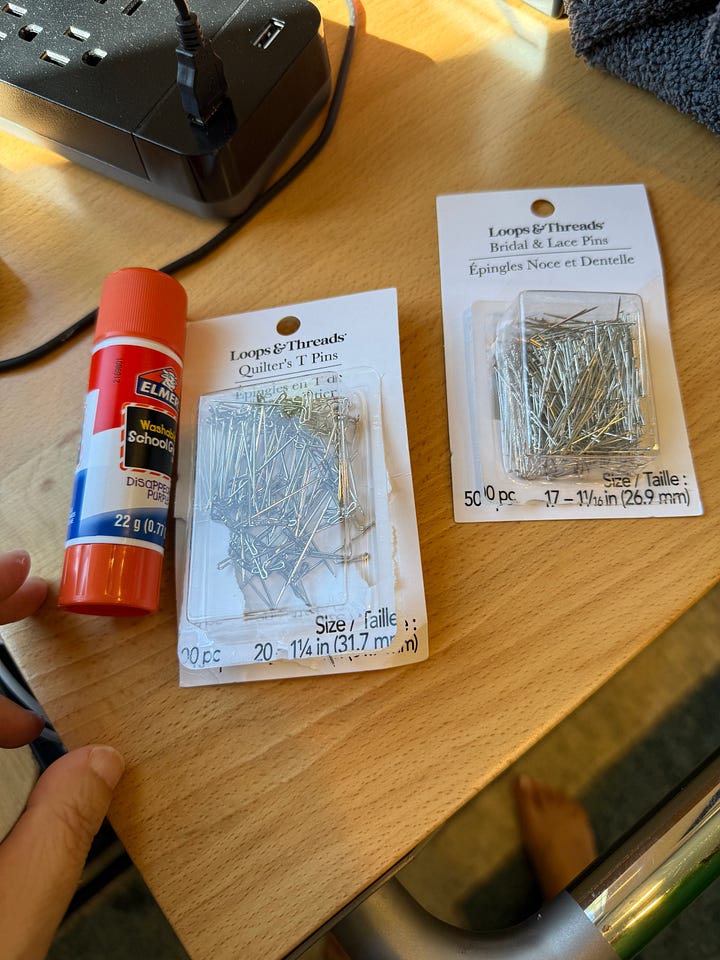
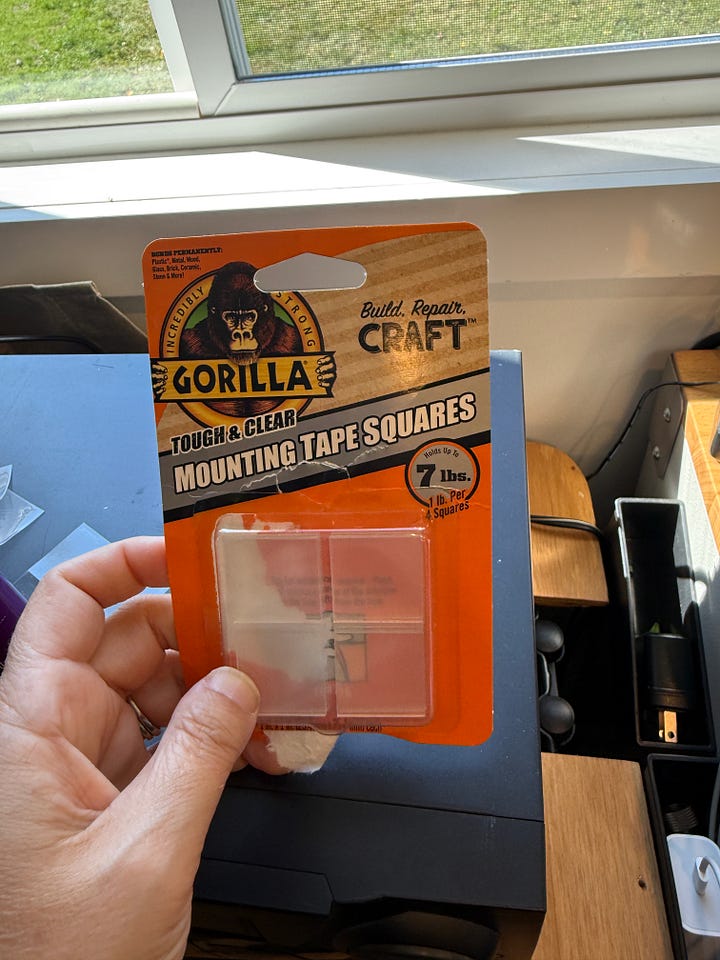
I also got some different glue to try - one is the purple washable glue stick (in Jumbo size) and one of Aleene’s tacky glue in a dabber applicator. I cut one of the towels in half and tried each adhesive to see which I preferred - I wanted it to stick, but I also wanted it to not dry so stiff that the nap would be flattened and/or pins would be hard to use. While I was doing that, Dave was cutting the foam insulation boards I’d picked up a few weeks ago and installing them directly to the wall, using screws and washers run directly into the studs. I did use some Gorilla Glue mounting squares on the edges/corners that were further out from the screws, so that the board was flat on the wall.


My adhesive test results were that both worked, the Aleene’s was a stiffer result, and when I tried it on the vertical wall it was definitely more of a pain to apply, so I went with the glue stick instead. I also used T-pins and lace pins (check the size, my foam is 1” so I got the 1 1/16” pins) in the installation. I started by using T-pins to secure the towel at the top - I pinned to the horizontal edge and then the towel came down to the vertical plane, where I used the glue stick. Several pins in the top edge (and wrapped to the side on the end) held the towel in place as I glued, and then I used lace pins around the perimeter. I quickly learned that I should only insert the pins about half way, so that I could see WHERE I pinned, the thick nap and the tiny pin heads meant that once they were all the way in you couldn’t see them anymore. I found a pen with a flat bottom and used that to really sink the pins into the foam and nap, once they were fully in, they were no longer visible at all
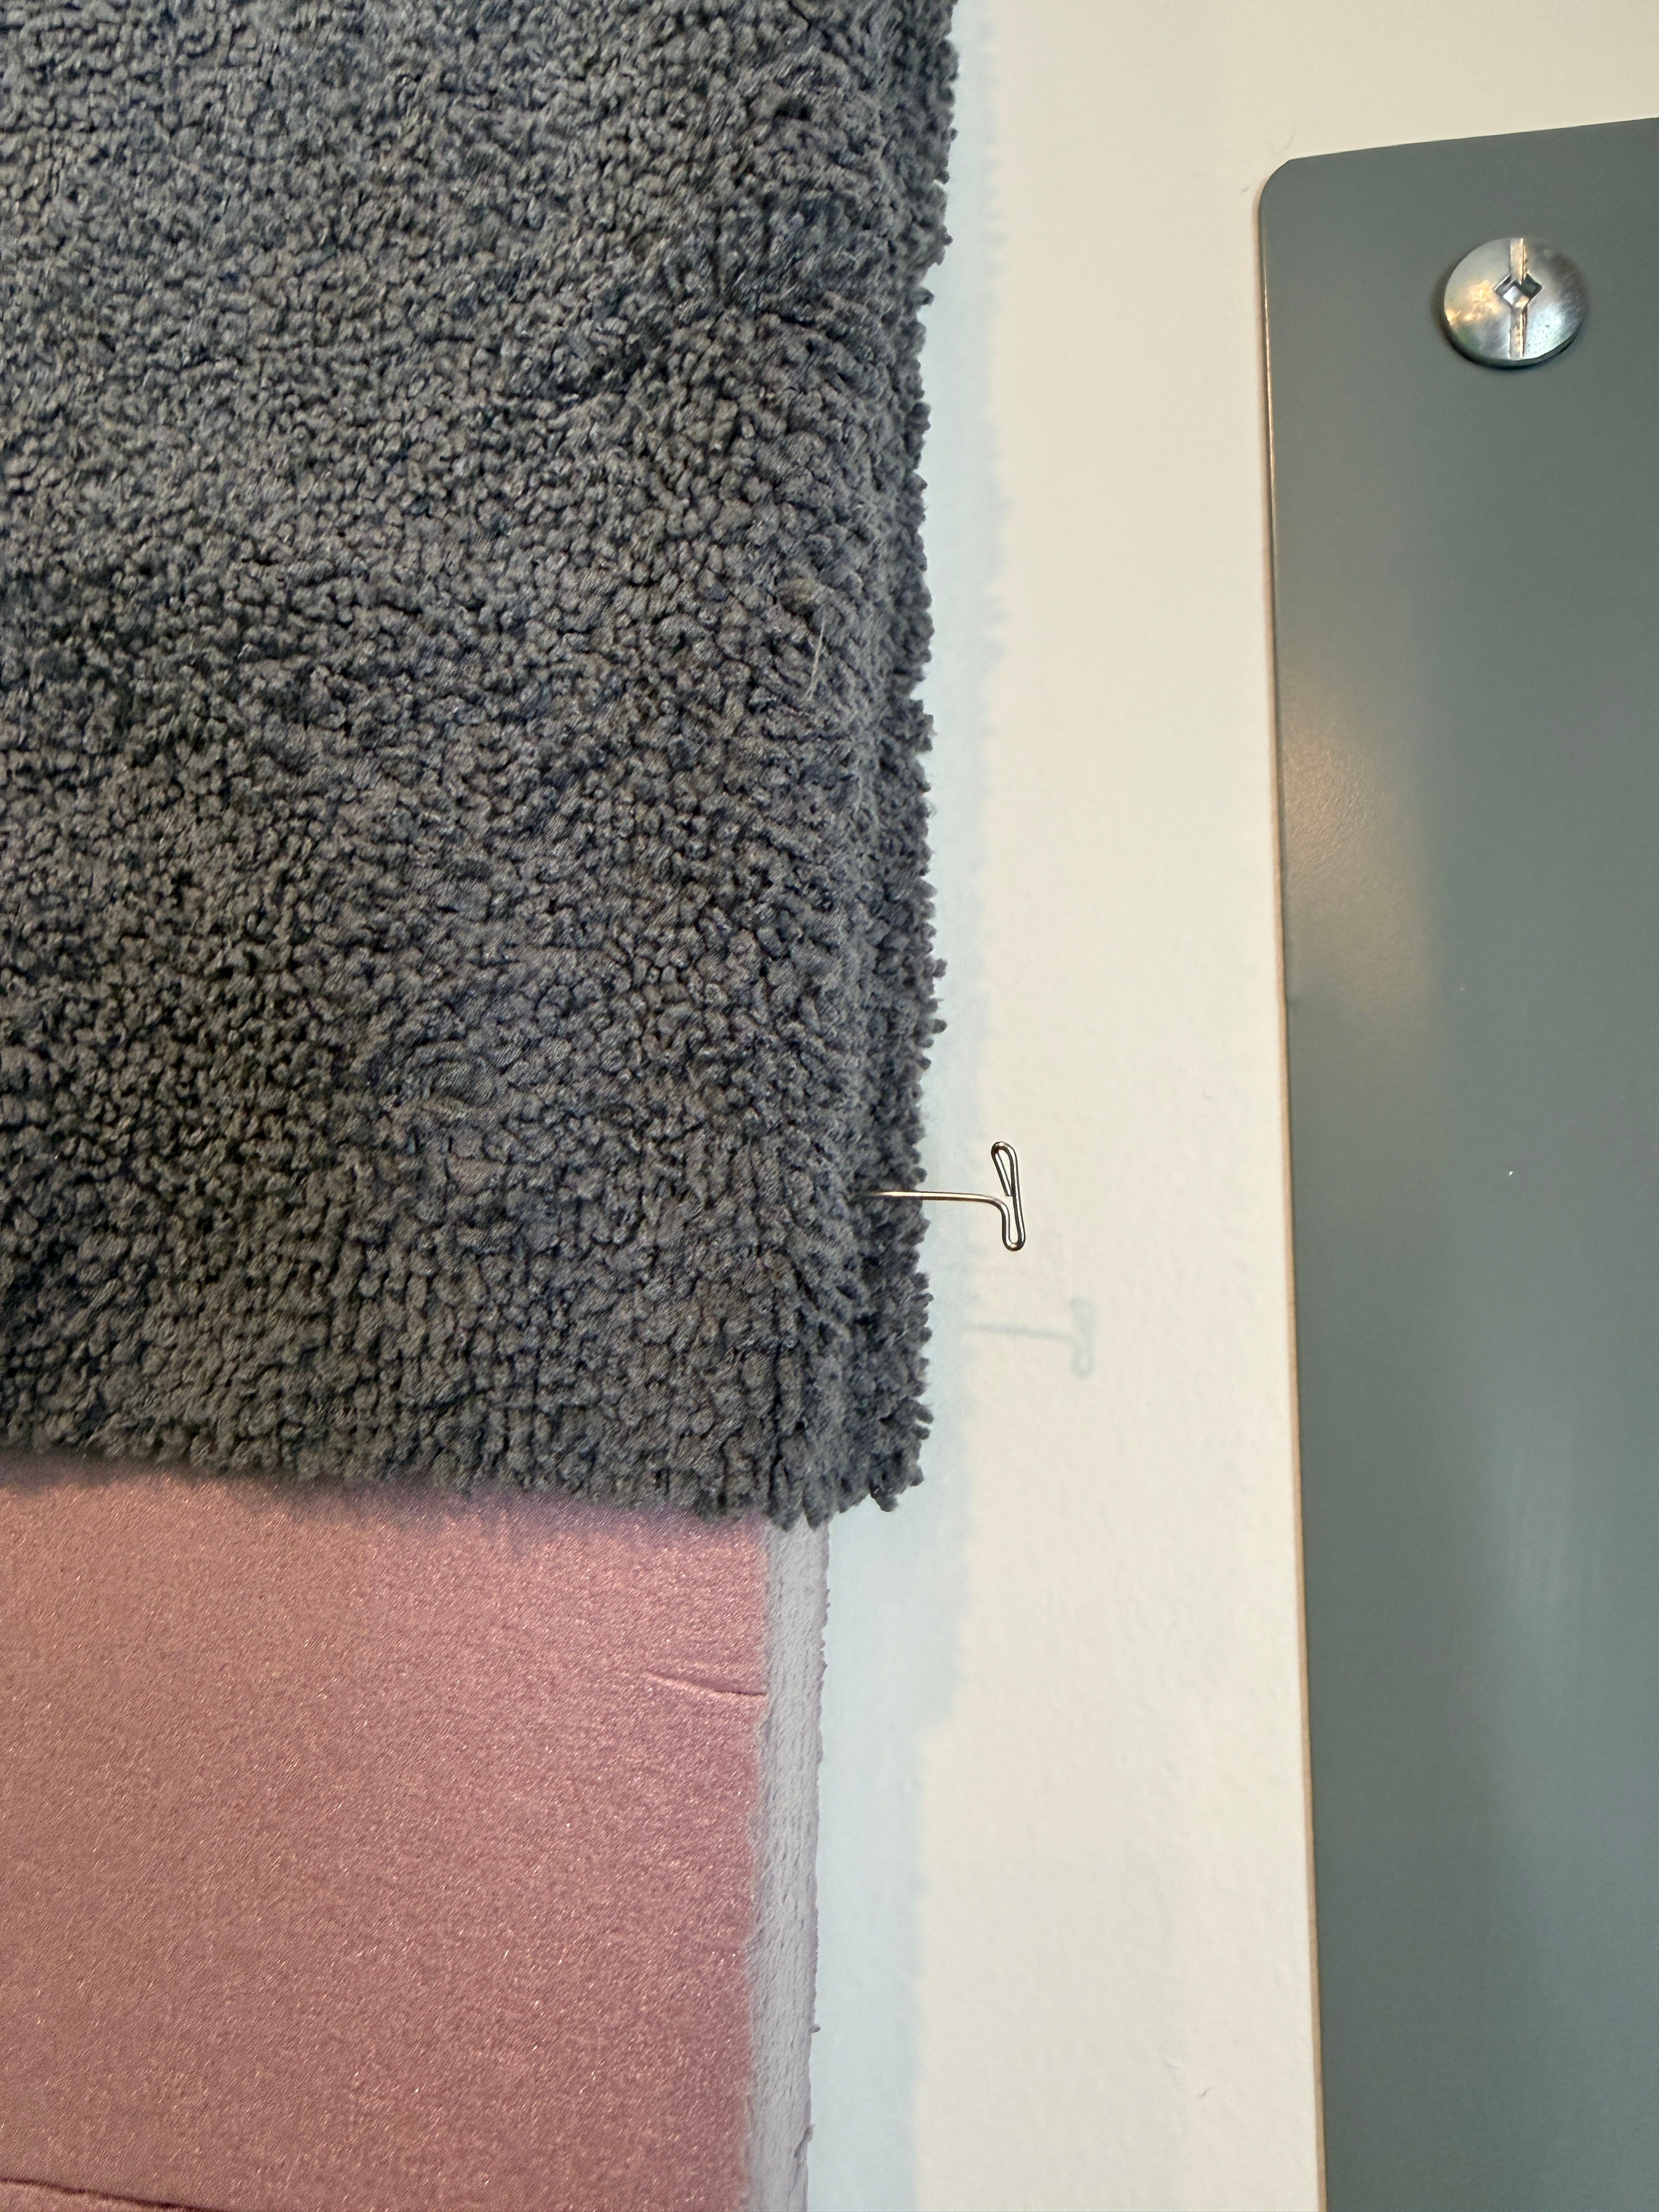
.
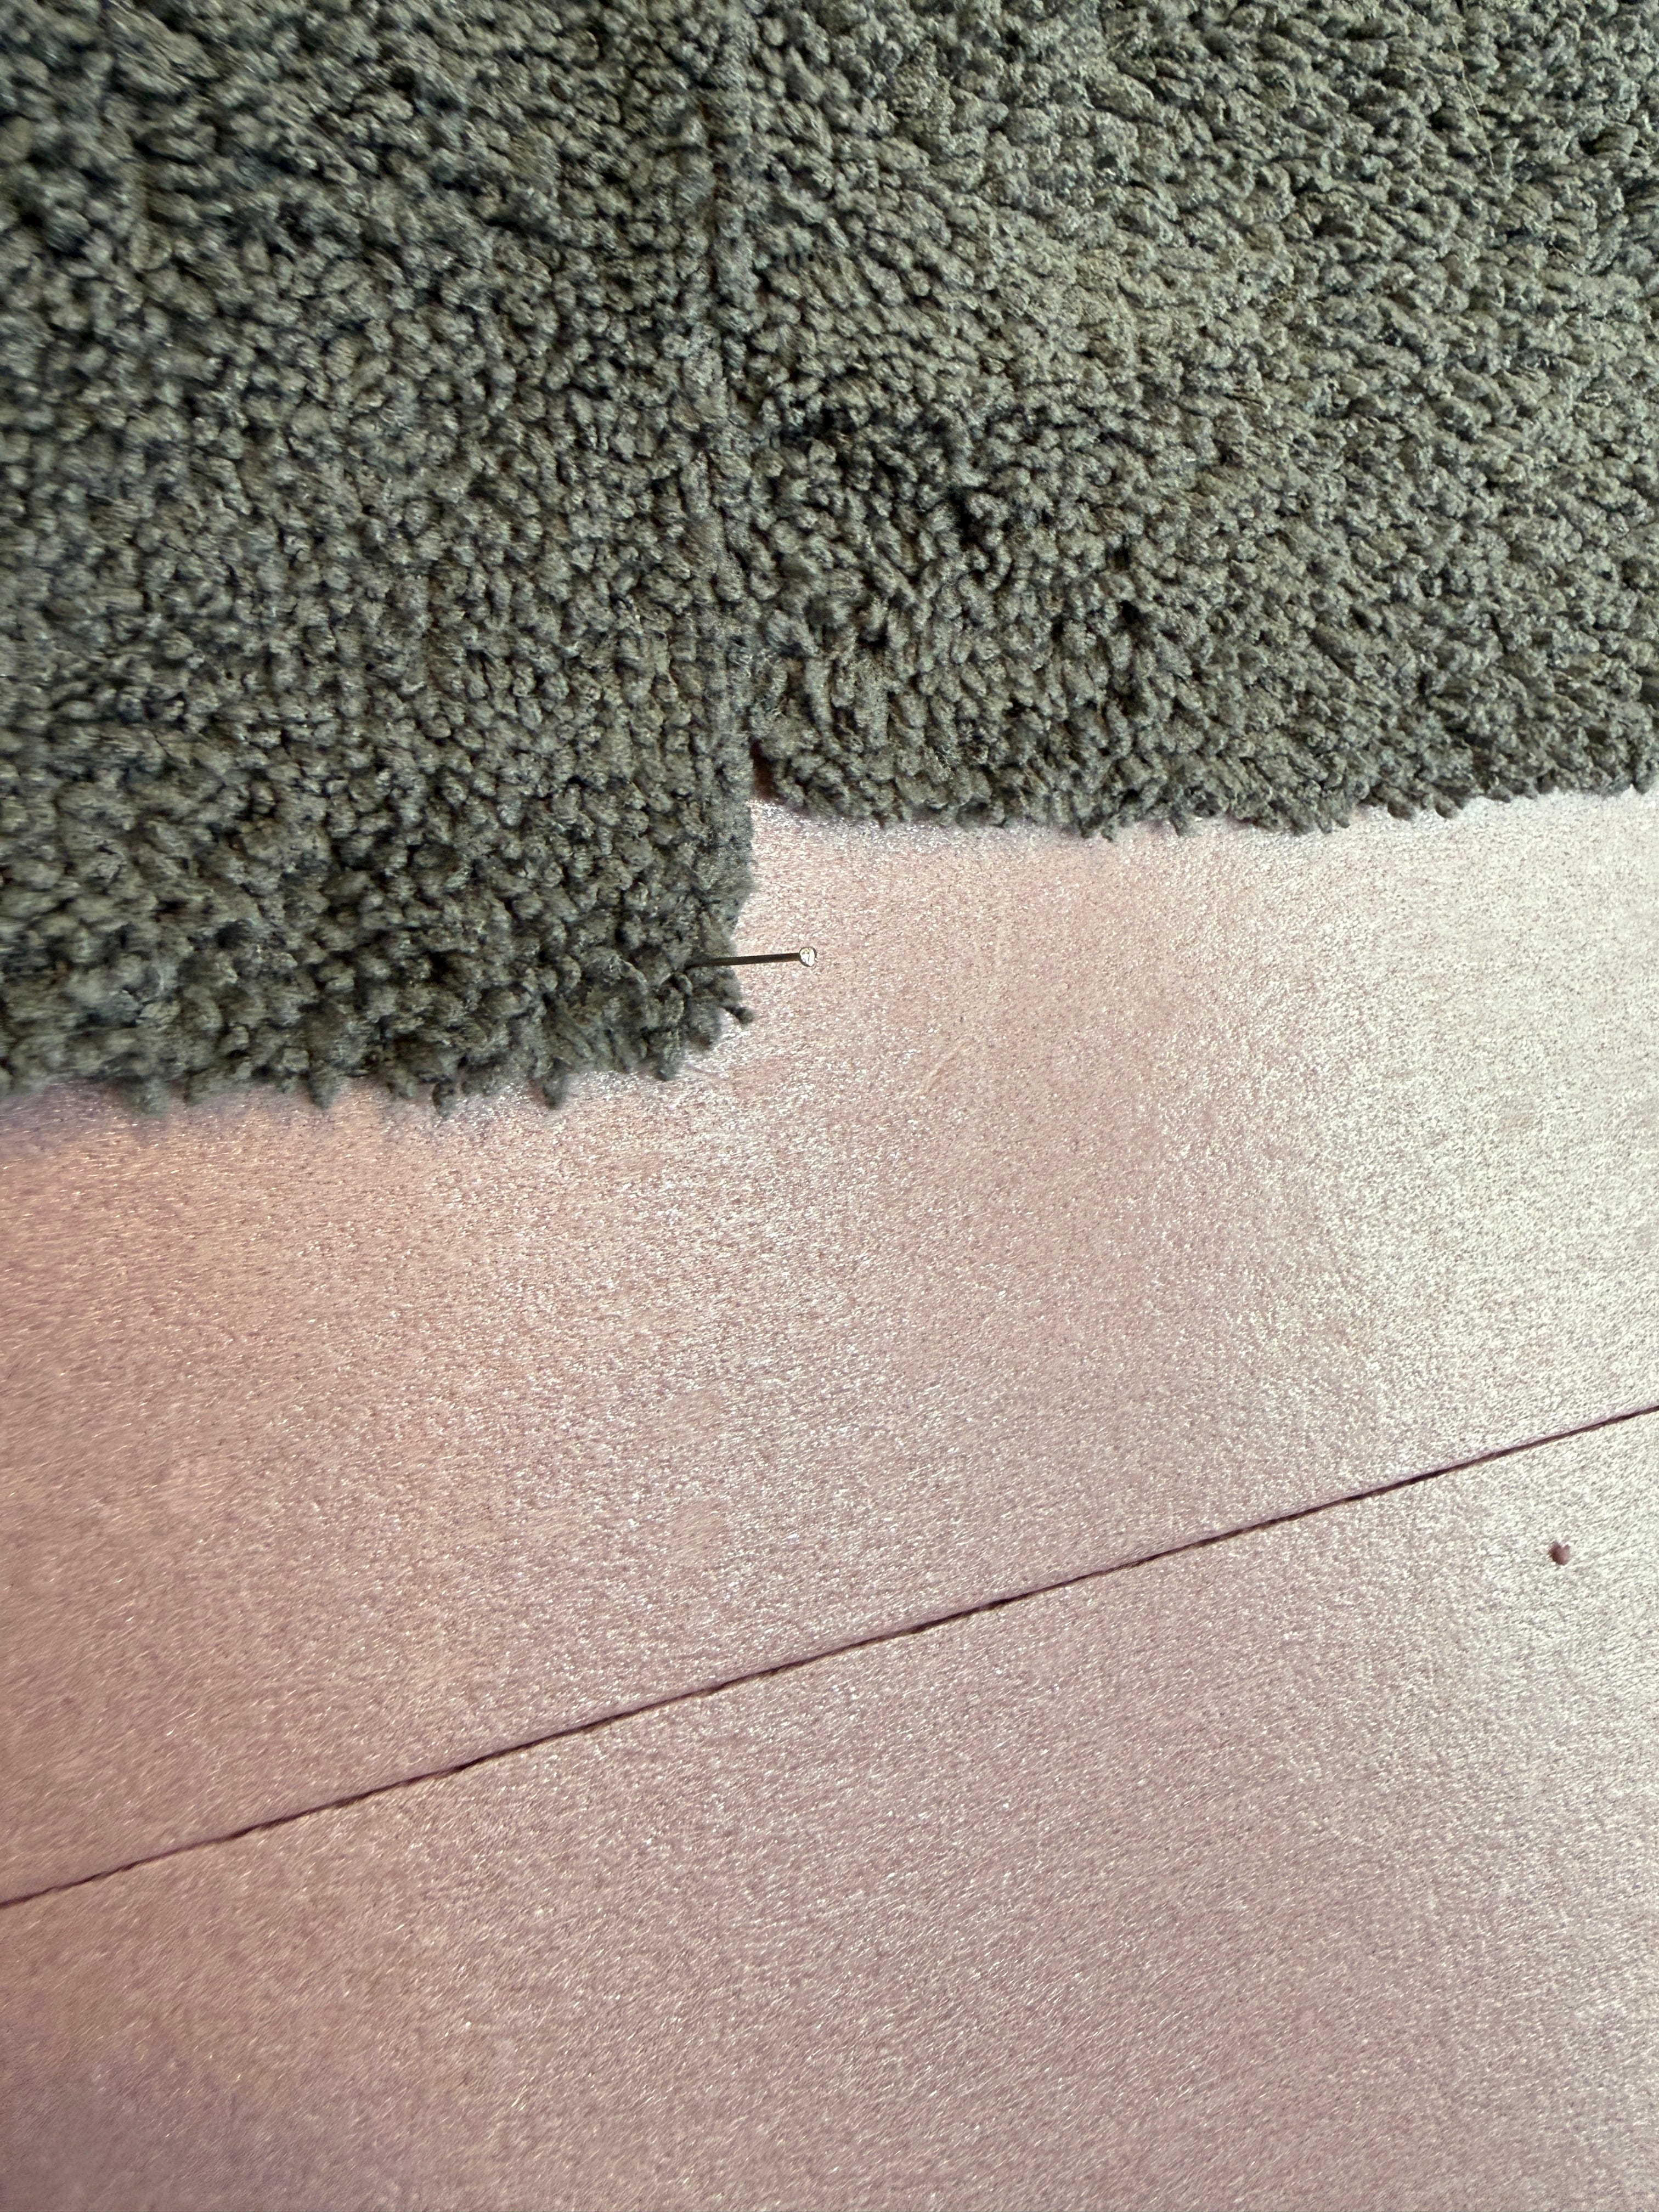
Very satisfying to sink the pins
On the center pieces, I used T-pins along the top edge of a towel to position it, get the glue applied, and the lace pins, and then I replaced the T-pins with lace pins and moved on. (It was easier to adjust the T-pins because of the grip the T makes, I really didn’t want to be adjusting the tiny lace pins any more than I had to. I cut around the outlet and used pins there, and did the same around the bottom edge, which is wrapped and pinned up into the foam as well.


Project Cost
Foam insulation board: 2 4x8 sheets of 1” foam insulation (used 1.5 sheets) $60
Microfiber towels: 4 10-packs of 15”x15” (I only used a few from the 4th package) $28
Jumbo glue stick (needed 1.5 ish, so two sticks) $8
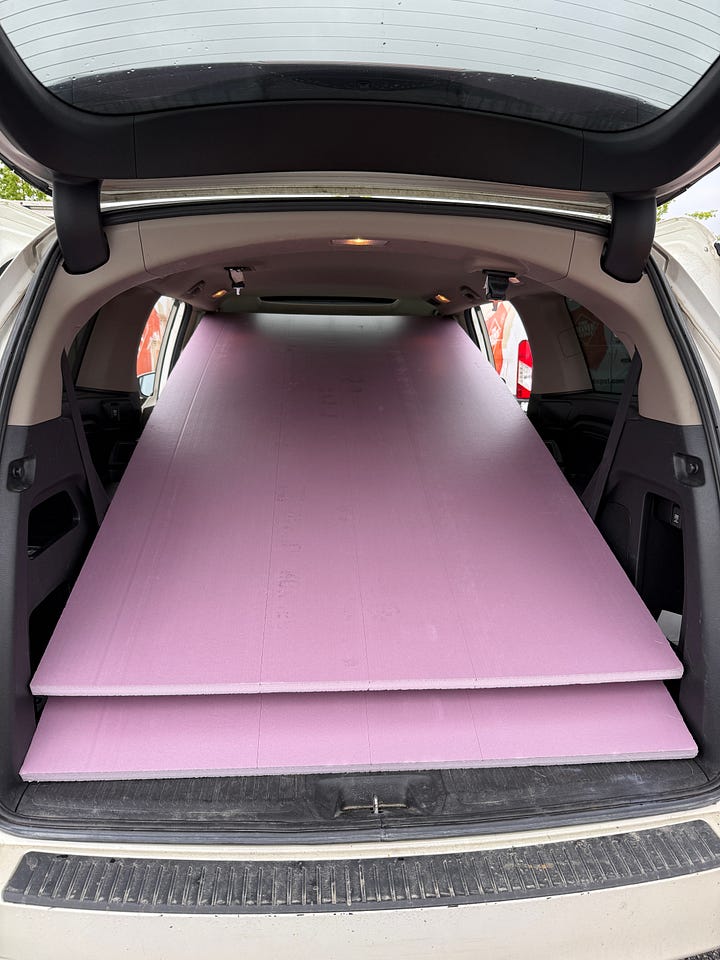
Materials used


Total project cost was just over $100, with the bulk of that being foam insulation panels. You can buy thinner/ cheaper foam, and if you don’t have a minivan to transport, you can buy it in 2x2 squares (though the price is higher per sf that way.) My finished wall is 96” wide by about 75” high, which should be just perfect for 99% of what I do. The grip is amazing - I know many folks are averse to the sensory aspect of microfiber, so I did want to add that installing it - yes, you are touching a loooot of microfiber, but once it’s DONE, you really don’t touch the surface much at all, if that is a consideration. The backgrounds back in place, you can see just a foot or so of the wall behind the shelf - and the design wall itself adds sound dampening for the VO work that gets done in here. Win/Win.
Finished Product


Do you mind if I share this with Sue Martell? I’m sure she’d be interested!
Looks great. And sounds like it is working beautifully! Well done!